Captions and Subtitles with Adobe Captivate Projects
Watch a demo >>
Adobe Captivate allows you to make your eLearning projects accessible to the deaf and hard-of-hearing by turning slide notes into closed captions. Both Section 508 of the Rehabilitation Act and the Americans with Disabilities Act (ADA) state certain accessibility requirements that are applicable to educational materials and institutions.
This article provides step-by-step instructions on how to add closed captions to your Adobe Captivate projects.
Step 1: Export Audio from Your Captivate Project
- To export the audio in your Captivate project, select Audio > Edit, then select Project. In the Slides Audio dialog box, click Podcast. Save the file to your computer in either WAV or MP3 format. Learn more about exporting audio in Adobe Captivate.
Step 2: Submit Your Audio Track for Captioning
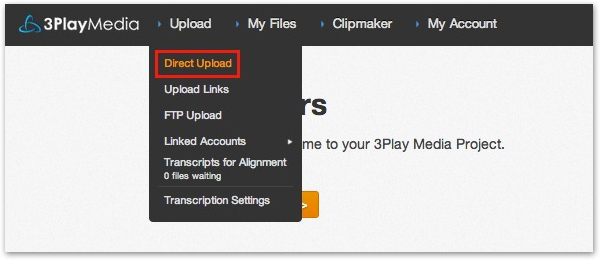
- First, you will need to send the audio narration track from your presentation to 3Play Media for captioning. Log into your 3Play Media account. From the upload menu, select Direct Upload. Follow the onscreen prompts to specify turnaround. You'll receive an email notification when your captions are ready.
- For additional details, read the support article on uploading media files for captioning.
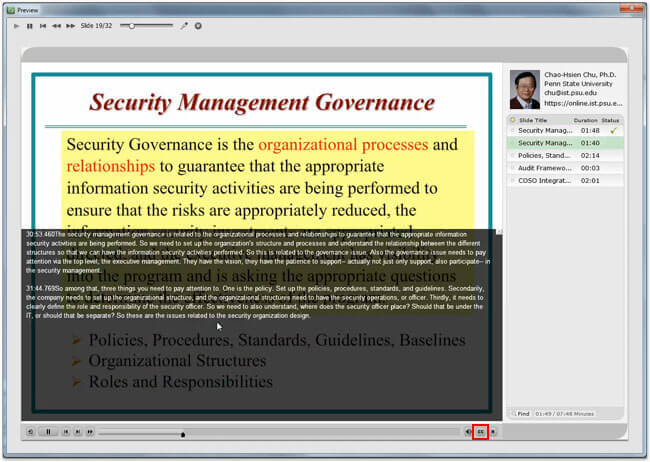
Step 3: Capture the Time-Stamped Text of Your Recording
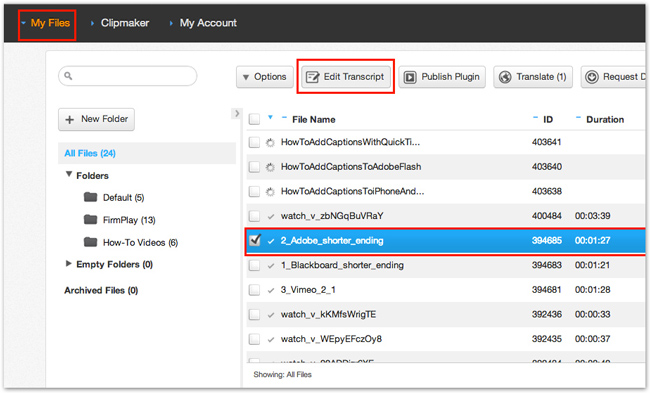
- In your 3Play Media account, go to My Files and locate your audio narration file. Select your file and click Edit Transcript.
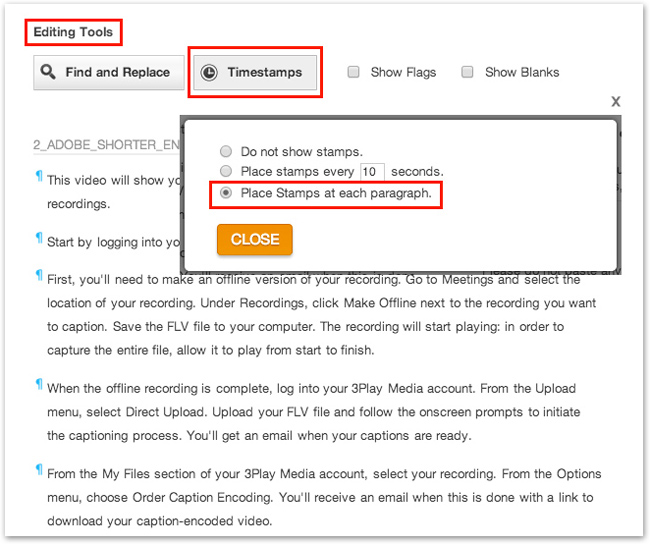
- Under Editing Tools, select the Timestamps icon and choose Place Stamps at each paragraph. Next, copy the text to a text editor or notepad.
Step 4: Add Closed Captions to Your Adobe Captivate Project
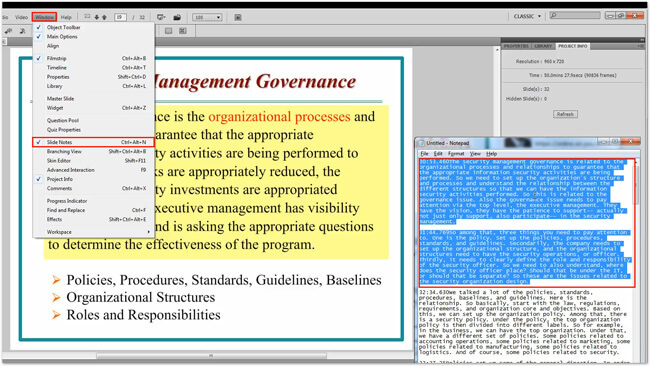
- Open Adobe Captivate and navigate to your slideshow. Check the beginning and end time stamps of your first slide. Go to Window > Slide Notes. Copy the text from your transcript that correlates to the time stamps of the slide.
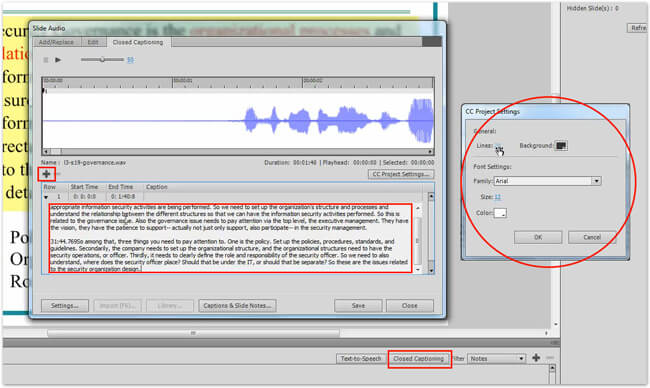
- Click on Closed Captioning. Click the "+" sign and paste your transcript text into the provided area. From here, you can change the number of lines as well as the font and color settings of your captions. Click OK and Save.
- The captions should now appear in your presentation. Check the time stamps for each slide in your project and repeat the process above to add captions to your whole presentation!