Captioning and Transcription for Higher Education
Updated: February 21, 2024
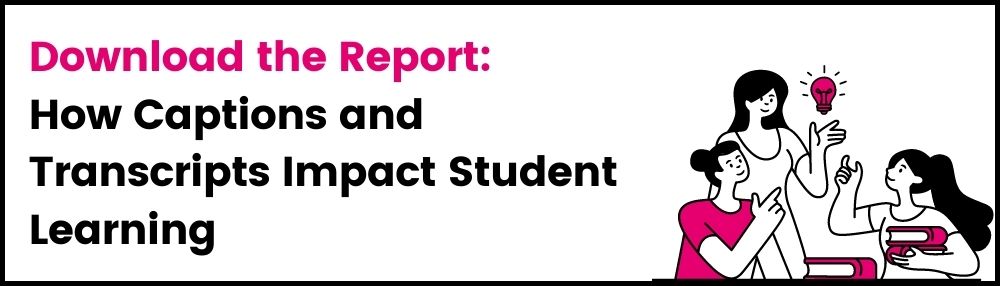
How Closed Captions & Transcripts Impact Student Learning [Free Report]
There are many benefits to offering captions for online video in higher education institutions.
Closed captions make videos more accessible to students who are deaf or hard of hearing. By prioritizing video accessibility, colleges and universities can ensure that more students have equal access to educational content and media.
While captions are intended to make videos accessible to people with disabilities, they can also benefit all students. One study revealed that 80% of people who use captions are not deaf or hard of hearing – they find that captions improve their engagement, focus, and comprehension.
Another study by the University of South Florida St. Petersburg (USFSP) explored the impact of captions and transcripts on student learning. The results shed light on the value of captions in the classroom and showed that accessible video could have a positive impact on students’ performance.
So we know that captioning in higher education is crucial for accessibility and helpful for student engagement. But what should schools know before searching for captioning solutions?
What’s Important for Captioning in Higher Education?
Caption Accuracy
Inaccurate captions are frustrating for anyone, but for students, it’s particularly detrimental to their learning and performance. Many students rely on captions to assist them in their studies, especially those who are:
- D/deaf or hard of hearing
- English language learners or non-native English speakers
- Individuals with learning disabilities
Accurate captions are a necessity for higher education institutions because students must have access to accurate learning materials, including educational videos.
Note that in 2019, the court acknowledged that caption accuracy is critical to accessibility as seen in its decision for the NAD v. Harvard and NAD v. MIT accessibility suits.
Legal Compliance

Higher education institutions are considered places of public accommodation and are typically federally funded. Because of this, most schools fall under Section 504 of the Rehabilitation Act and Title III of the Americans with Disabilities Act (ADA) which require equal access and equal opportunity for people with disabilities. For this reason, captioned videos are a requirement for most higher education schools since it ensures equal access to online video for students with disabilities.
Billing Flexibility
Universities often have many different departments and may even have additional campuses aside from the main campus. Higher education institutions require flexible billing options to bill each department or campus separately and to provide specific administrators access to billing information. A smooth billing process helps to make the entire captioning process painless, efficient, and sustainable.
What Are Common Challenges in Higher Education?
Restricted Budgets
State schools have set funding for academic programs and departments, whether it be from private donations or state and federal funding. This requires state schools to operate within a limited budget, which is one of their most significant barriers to captioning. They will look for a captioning solution that allows them to stay within budget while still maintaining a 99% accuracy rate of their content.
Workflow and Compatibility
![]()
While the process for captioning in higher education varies from college to college, there are often several steps a professor must go through to get a video captioned on time. Sending a captioning request may take a lot of back and forth. Having a solution that helps a college streamline the captioning process will ensure that videos are captioned when students need them.
There are many options for lecture capture systems and video platforms, and schools will use whichever platform fits their unique needs. To ensure their transcription and captioning processes are seamless and efficient, schools will look for captions that are compatible with their lecture capture systems and video platforms.
Complex Content
Higher education institutions offer multiple areas of study and hundreds of degrees and certificates with different focuses. For reference, the University of Wisconsin-Madison offers over 600 undergraduate majors and certificates. With large amounts of high-level content in varying subjects, it’s a challenge for schools to ensure their content is transcribed accurately.
How Captions & Transcripts Impact Students’ Performance
What Vendor Features Are Important for Higher Education?
Guaranteed Accuracy
3Play Media’s closed captions and transcripts comply with federal accessibility laws. Our captions provide a measured accuracy rate of 99.6%, and we guarantee at least 99% accuracy, even in cases of poor audio quality, multiple speakers, difficult content, and accents.
Competitive Pricing

Our advanced technology is what enables our competitive prices, but our quality assurance measures ensure that our caption quality is top-notch. We also offer flexible billing, allowing customers to have project-level billing for higher education organizations that require that multiple departments and campuses are billed separately or have access to separate billing information.
Skilled Transcript Editors
3Play Media always provides accurate transcripts for a broad range of complex content. We have a staff of thousands of skilled transcript editors who can edit content from topics in which they are knowledgeable. We also allow customers to upload wordlists with correct spellings, punctuation, and capitalization for difficult words and subject-specific terms.
Video Platform Integrations
Integrations with lecture capture systems and online video management platforms allow for a more streamlined captioning process. 3Play offers integrations with all major video players, including Kaltura, Panopto, Mediasite, Echo360, and YouTube. Our integrations will automatically post your captions back to your video, giving you more time to focus on other projects.
User-friendly Account System
Our Account System is easy for customers to use, and you can rest assured that captioning won’t be a complicated endeavor. Each account can support multiple users, departments, and permissions. Account admins can control user access to any of the core account functions like invoices & billing, uploading, editing, publishing control, and user management. On top of that, we have a fabulous support team to help you along the way.
Higher Education Institutions that Use 3Play Media

This blog post is written for educational and general information purposes only, and does not constitute specific legal advice. This blog should not be used as a substitute for competent legal advice from a licensed professional attorney in your state.
This blog was originally published on April 27, 2020 by Jaclyn Leduc and has since been updated for accuracy, clarity, and freshness.
Further Reading


Subscribe to the Blog Digest
Sign up to receive our blog digest and other information on this topic. You can unsubscribe anytime.
By subscribing you agree to our privacy policy.