Captions and Subtitles with Lectora Presentations
Lectora is an e-Learning authoring software that allows users to easily create, deliver, track, and manage online training. Here are your step-by-step instructions for how to add closed captions to Lectora presentations. For full details, view the Lectora e-Learning lesson on creating and using closed captions.

Note that Lectora Online is web-based and is compatible with the Mac (Safari) browser or Windows browsers (Chrome, Firefox, Internet Explorer), while Lectora Inspire and Lectora Publisher are Windows-based desktop applications.
How to Add Closed Captions or Subtitles to Video Files
Step 1: Submit Your Video for Captioning
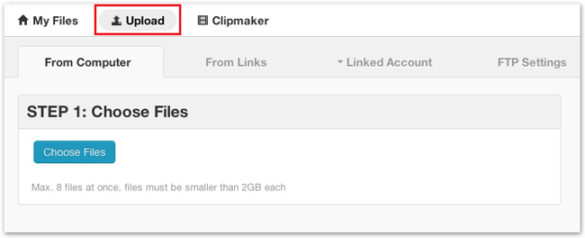
Log into your 3Play Media account. From the Upload tab, select your method of upload, choose your video file, and follow the onscreen prompts to specify turnaround. You’ll receive an email when your captions are ready.
For additional details, read the support article on uploading videos for captioning.
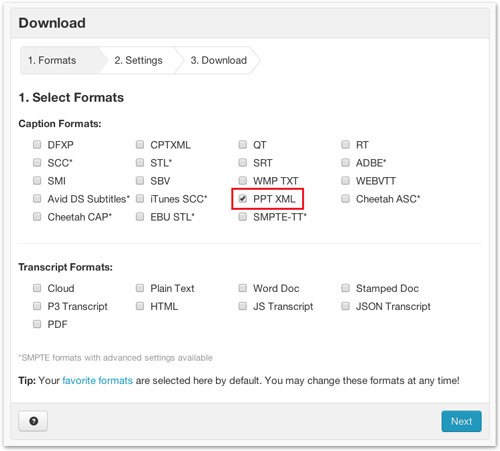
Step 2: Download Your Captions in PPT XML Format
Go to the My Files page in your 3Play Media account and select your recording. Click Download and select the PPT XML format. Save the PPT.XML file to your computer.
Step 3: Insert Your Video File in Lectora
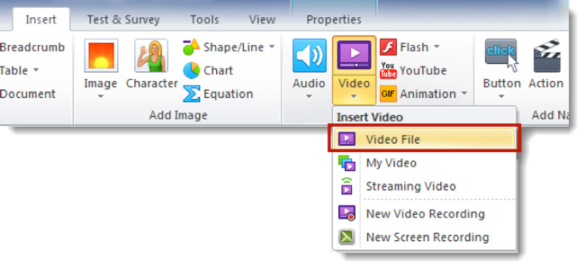
Open your project title in Lectora/Lectora Online. From the Insert ribbon, select Insert Video File.
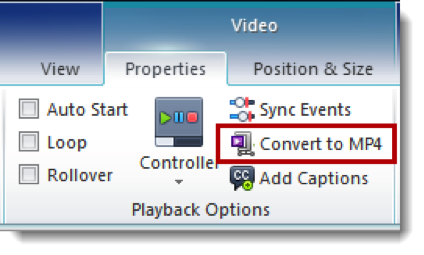
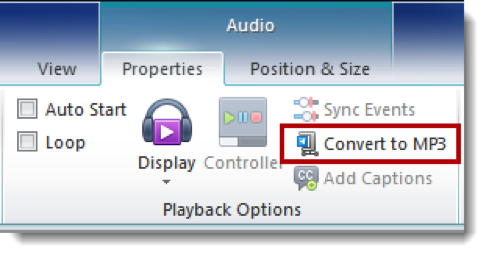
Browse for and select the desired video file. The file is added to your title. Lectora and Lectora Online support adding captions to FLV and MP4 video formats. If your file is not in this format (for example, WMV or AVI), you will need to convert it to MP4. You can convert it as you import it with Lectora Online. In Lectora desktop, double-click on the video on the page (or in the Title Explorer) to switch to the Video Properties ribbon. Click Convert to MP4.
Step 4: Add Captions to Your Video
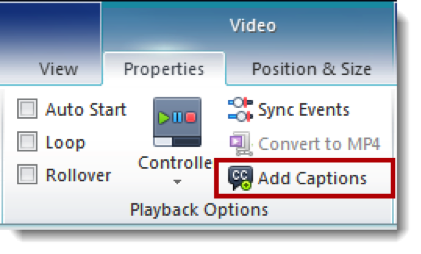
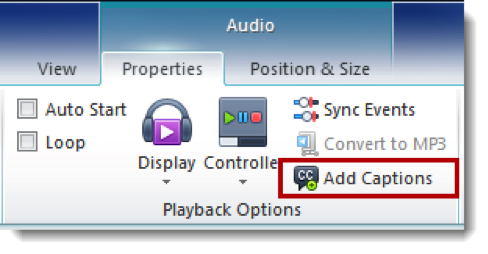
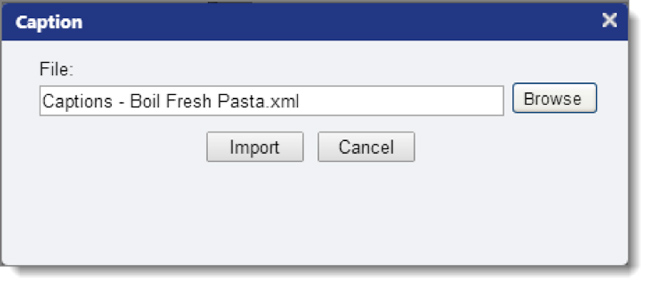
Double-click on the object on the page (or in the Title Explorer) to switch to the Video Properties ribbon. Select Add Captions. Browse for and select the PPT.XML caption file that you downloaded in step 2.
Step 5: Preview & Publish Your Video with Captions
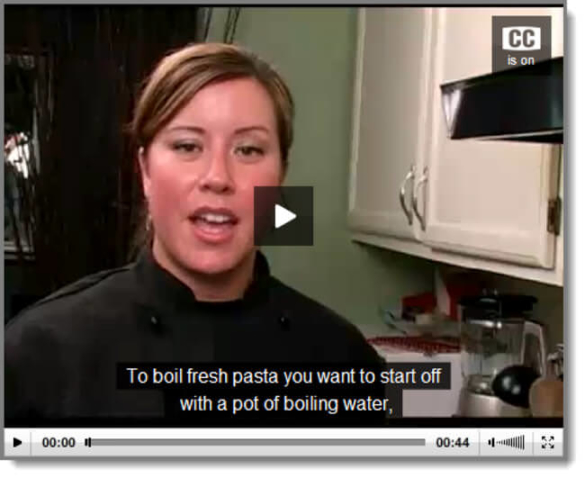
Enter Run or Preview Mode. Play your video, and make sure that closed captions appear. Finish your presentation and publish your title!
How to Add Closed Captions or Subtitles to Audio Files
Lectora desktop V11 and higher supports adding closed captions to FLV and MP3 audio files using the same steps as for video, above: insert the audio file, and then on the Audio Properties ribbon select Add Captions.
Again, you may need to use Convert to MP3 to change your audio file format (for example, from WAV or WMA).
To add captions to an audio file in Lectora Online V2, you have to trick it into thinking the audio file is a video file (i.e., a video that only has sound, no picture).
Step 1: Submit Your Audio File for Captioning & Download Your Captions in PPT XML Format
Follow steps 1 & 2, above, for uploading a video file and downloading your captions. Remember to download your captions as a PPT.XML file.
Step 2: Convert Your Audio File to FLV
Using an external audio editor, open your MP3, WAV, WMA or other format audio file. Click Save As and save the file as an FLV. Now that it is in FLV format, you can insert it into your title and add captions just as you would for a true video file.
Note: You could also add the file to a video project and Save As to MP4 format.
Step 3: Insert Your “Video” File into Lectora
Open your project title in Lectora Online. From the Insert ribbon, select Insert Video File.
Browse for and select the FLV/MP4 file you just saved.
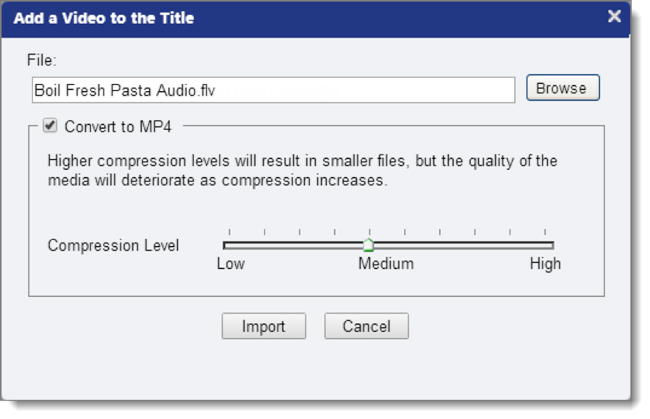
Click Import. he file is added to your title.
Step 4: Add Captions to Your Recording
Double-click on the object on the page (or in the Title Explorer) to switch to the Video Properties ribbon. Select Add Captions.
Browse for and select the PPT.XML caption file that you downloaded in step 1. Click Import.
Step 5: Preview & Publish Your Recording with Captions
Resize your file so it is tall enough to view the closed captions.
Enter Run or Preview Mode. Play your recording, and make sure that closed captions appear. Finish your presentation and publish your title!