How To Add Captions and Subtitles To Videos In Moodle
![]()
Learning management systems (LMS) often don’t allow users to publish videos with interactive transcripts, captions, or audio description. These features make content accessible to individuals who are deaf or hard of hearing and blind or low vision. In addition, they have proven to have great benefits for all students and learners, both with and without disabilities. With Moodle, luckily enough, customers are able to add captions to their videos, a process which we’ve outlined below. Should you want to add interactive transcripts to your videos, our 3Play Plugin allows you to do so using an iframe embed. With the 3Play Plugin, not only are you able to add interactive transcripts, but you can also add captions, audio description, and SEO to videos in video players that otherwise don’t support these features.
Step 1: Submit Your Video For Captioning
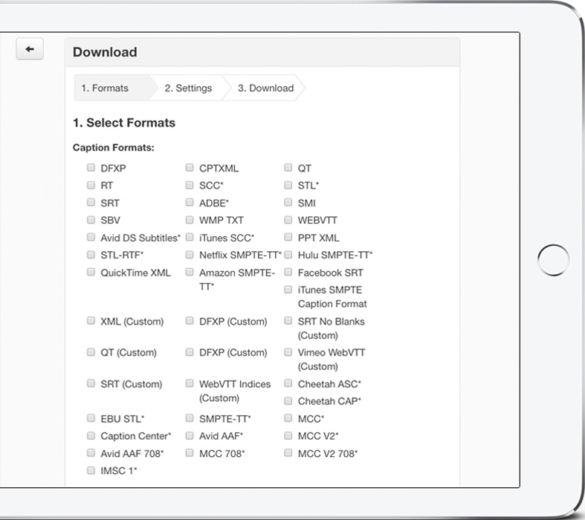
To create a caption file in the preferred WebVTT format, there are a multitude of available options out there, all which offer different levels of accuracy and complexity for you.
For the DIY-ers, you can create your own caption files, however, this process can be tedious and time consuming. requiring you to watch (and rewatch) the video, transcribing it and then adding in time stamps in minutes and seconds.
YouTube adds automatic captions for your videos, making it a way easier option, however, auto-captions average 60-70% accuracy — or worse when there is poor audio quality, background noise or music, multiple overlapping speakers, or speakers with accents or poor articulation.
From the rough transcript that YouTube creates, you can create your own captions the DIY way or enlist the help of your viewers for crowdsourced captions and subtitle translation.
While these options can work for some, the fastest, easiest way to get accurate captions is to hire a professional closed captioning company. This is highly recommended if you need to caption videos at scale, since you can automate your captioning workflow and ensures your captions will have high accuracy — providing a better experience for viewers and making your organization one step closer to being more accessible.
Step 2: Uploading Your Video File To Moodle
After logging into your Moodle account, insert your MP4 video file via media toolbar button.
Then, choose the video tab.

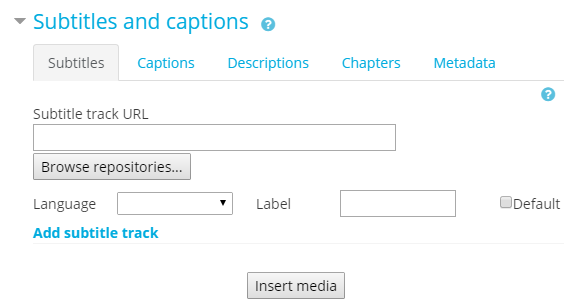
Step 3: Uploading Your Caption File To Moodle
Next, expand the ‘Subtitles and captions’ section and upload your caption file.
Note: Moodle only accepts the WebVTT caption file format which consists of a sequence of text segments associated with a time-interval, ensuring that captions are displayed at the same moment the speaker is talking.
Learn more about the WebVTT caption file format.
Step 4: Inserting Your Caption File And Changing Settings On Your Video
Click on ‘Insert media’ to merge your video file with your caption file.
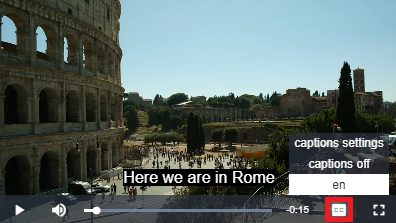
Your video now has a captions option the viewer can toggle on/off, selecting the language they wish to view the video captions in. There is also a captions settings menu which allows the viewer to increase the size and color of the captions.
Note: The viewer will only have languages options if you supply captions in multiple languages. To do this, you would create a separate file for each language and upload, adding a label for each language in the box provided. There is no limit in Moodle to the number of languages they’ll allow on one video.
Step 5: Adding an Interactive Transcript (Optional)
If you’d like to add an interactive transcript to your video in Moodle, you’ll need to use an iframe embed which can be accomplished with our 3Play Plugin!

Check out our plans and pricing.