Captions and Subtitles with Adobe Flash
Overview
Captioning flash videos doesn’t have to be hard. This how-to guide instructs how to create a Flash video file with closed captions or subtitles using Adobe Flash Professional CS5.5. For additional information, see Adobe’s resources on captioning video in Adobe Flash CS5.5. Also, see Adobe’s resources for captioning in Flash CS4.

Step 1 – Submit Your Video File for Captioning
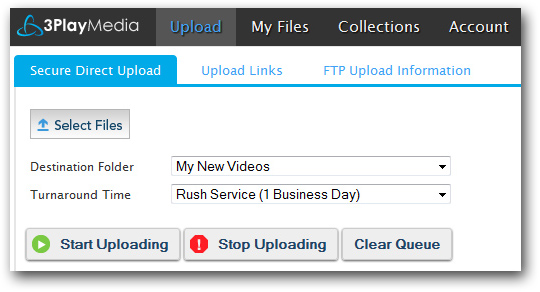
1. Log into your 3Play Media account.
2. Select Upload and specify the turnaround requirements.
3. You will receive an email alert when the captions file is ready for use.
Step 2 - Download Your Captions File
1. From your 3Play Media account, navigate to My Files. Click the download link beside the appropriate file and select DFXP.
2. Unzip the file after it downloads and copy it to the same location as your video file.

Step 3 – Add Closed Captions or Subtitles Using Adobe Flash Professional CS5.5
1. Open a new document and choose the ActionScript 3.0 document choice in the Start panel.
2. Import your video by selecting File > Import > Import Video. If your video is not already in a Flash FLV or F4V format, you will need to convert it using Adobe Media Encoder or another file converter.

3. Select a skin that supports captions (you can change the skin at a later time by selecting the FLVPlayback component on the stage and editing the skin property).
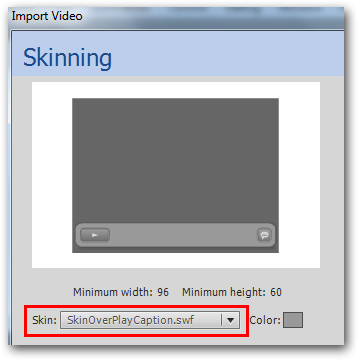
4. Wait for the video import to complete.
5. If necessary, resize the player by selecting Modify > Transform so that it fits in the white workspace.
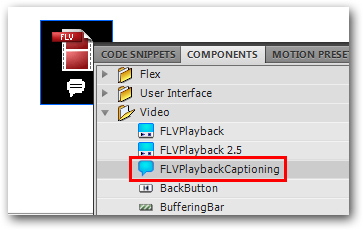
6. Select Windows > Components and double-click the FLVPlaybackCaptioning component.
7. Select the FLVPlaybackCaptioning component and in the Component Parameters section, set showCaptions to true and enter the name and location of the caption file in the source field (if you placed it in the same directory as the media file, then just enter the filename).
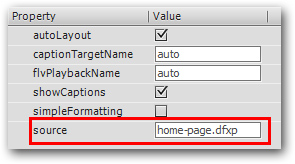
captionTargetName specifies the TextField or MovieClip instance name containing captions. The default is auto.
flvPlaybackName specifies the FLVPlayback instance name that you want to caption. The default is auto.
showCaptions specifies if captions display. The default is true.
simpleFormatting limits formatting instructions of the caption file when set to true. The default is false.
source specifies the name and location of the caption file.
For additional information, see Adobe’s resources to customize the FLVPlaybackCaptioning component.
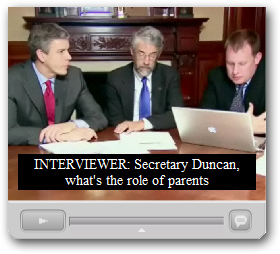
8. To test the captions, select Control > Test Movie > Test.
9. To publish the captioned video, select File > Publish.

How to Adjust the Position of the Caption Area
You can customize the size and position of the caption area by creating a text box that links to the FVLPlaybackCaptioning component.
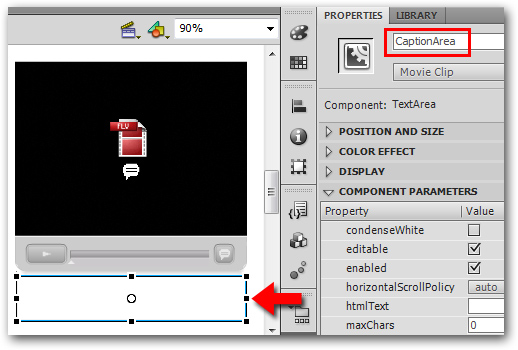
1. Select Windows > Components > User Interface and double-click on TextArea to add it to the stage.
2. Size and position the text box, making sure that there is sufficient height to display 2 lines of text.
3. In the properties, change the name to “CaptionArea”.
4. Select the FLVPlaybackCaption component and change the captionTargetName field to “CaptionArea”. Also uncheck the autoLayout field.
5. Test your changes by selecting Control > Test Movie > Test.