

- Captioning
Captions and Subtitles with Articulate Storyline
Captions and Subtitles with Articulate Storyline
Articulate Storyline is an e-learning authoring software that allows users to build interactive online and mobile courses with Section 508 compliance in mind. In fact, Articulate Storyline provides a chart of the many ways they have optimized their product to meet Section 508 requirements, along with an explanation of how users can reach compliance. Section 508 of the Rehabilitation Act requires most educational and informational technology to provide text alternatives to multimedia content.
This post will show you how to add captions to your Articulate Storyline courses and presentations.
Step 1: Export Audio from Your Entire Presentation
From the Articulate tab on the PowerPoint ribbon click Import Audio, then click the Export button. Save the audio file to your computer. Note the audio will not include embedded quizzes and interactions. Learn more about exporting audio in Articulate.

Step 2: Submit Your Course Recording for Captioning
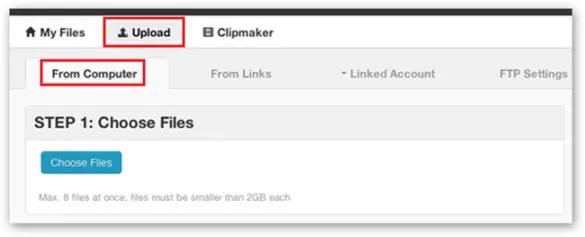
Log in to your 3Play Media account. From here, select Upload, followed by From Computer. Select the audio recording of your course or presentation and follow the onscreen prompts to select turnaround. You’ll receive an email when your captions are ready.
Step 3: Download the Transcript of Your Recording
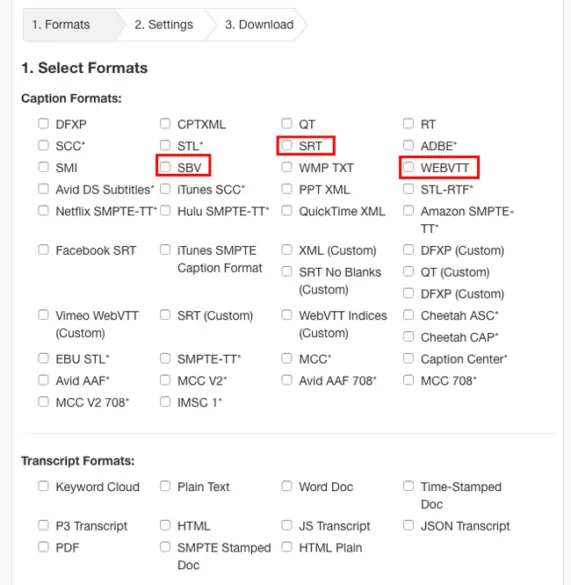
Go to the My Files page in your 3Play Media account and select your recording. Click Download and select either a .srt, .vtt, or .sbv caption format. Save the file to your computer.
Step 4: Add Captions to Your Course in Articulate Storyline
Click on the video or audio file in your presentation. When you click the media file a tab for Video Tools will appear with an Options button underneath.
Import captions with your media
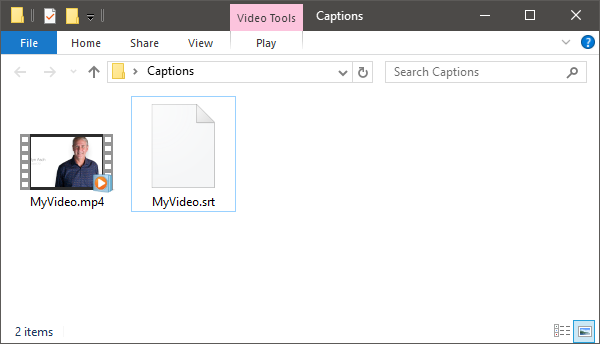
If your media file and caption file have the same name and are stored in the same folder, the caption file will automatically upload when you upload the media file.
In other words, if your video is titled MyVideo.mp4 and your captions are titled as MyVideo.srt, then all you need to import is the Video.mp4 and the captions will automatically import as well, as long as they are located in the same folder.
Import captions after adding your media
Under the options tab on the Storyline ribbon, click the plus sign next to captions.
Find the caption file you want to import and then click open.

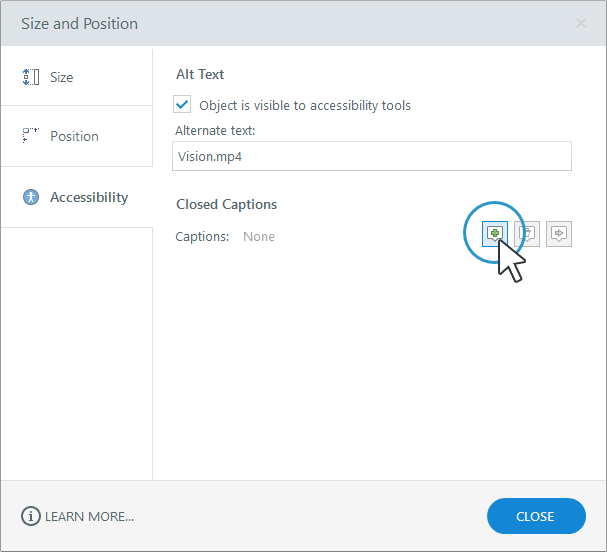
You can also import captions by right-clicking the video placeholder or the speaker icon. The Size and Position window will open. Click on Accessibility and next to captions, click on the plus sign. Finally, choose the caption file you want to import.

Customize Your Captions
Storyline allows you to customize the font or size of your captions. To customize the font, simply click Player in your Home tab, and choose Colors & Effects. Under Captions font you can select a font from the drop down list. Change font size through the Player font size percentage.
By default, captions are turned off, but you can add triggers to automatically start the captions when the course starts. You can also disable built-in player features and add your own custom CC buttons. Learn more about fonts, triggers, and custom navigations.
Filed under
Share this page
Related Resources
-
 Read more: ADA Title II Compliance Checklist
- Whitepaper
ADA Title II Compliance Checklist
-
 Read more: Event Planning Workbook
- Whitepaper
Event Planning Workbook
-
Read more: European Accessibility Act (EAA) Checklist
- Whitepaper
European Accessibility Act (EAA) Checklist