

- Captioning
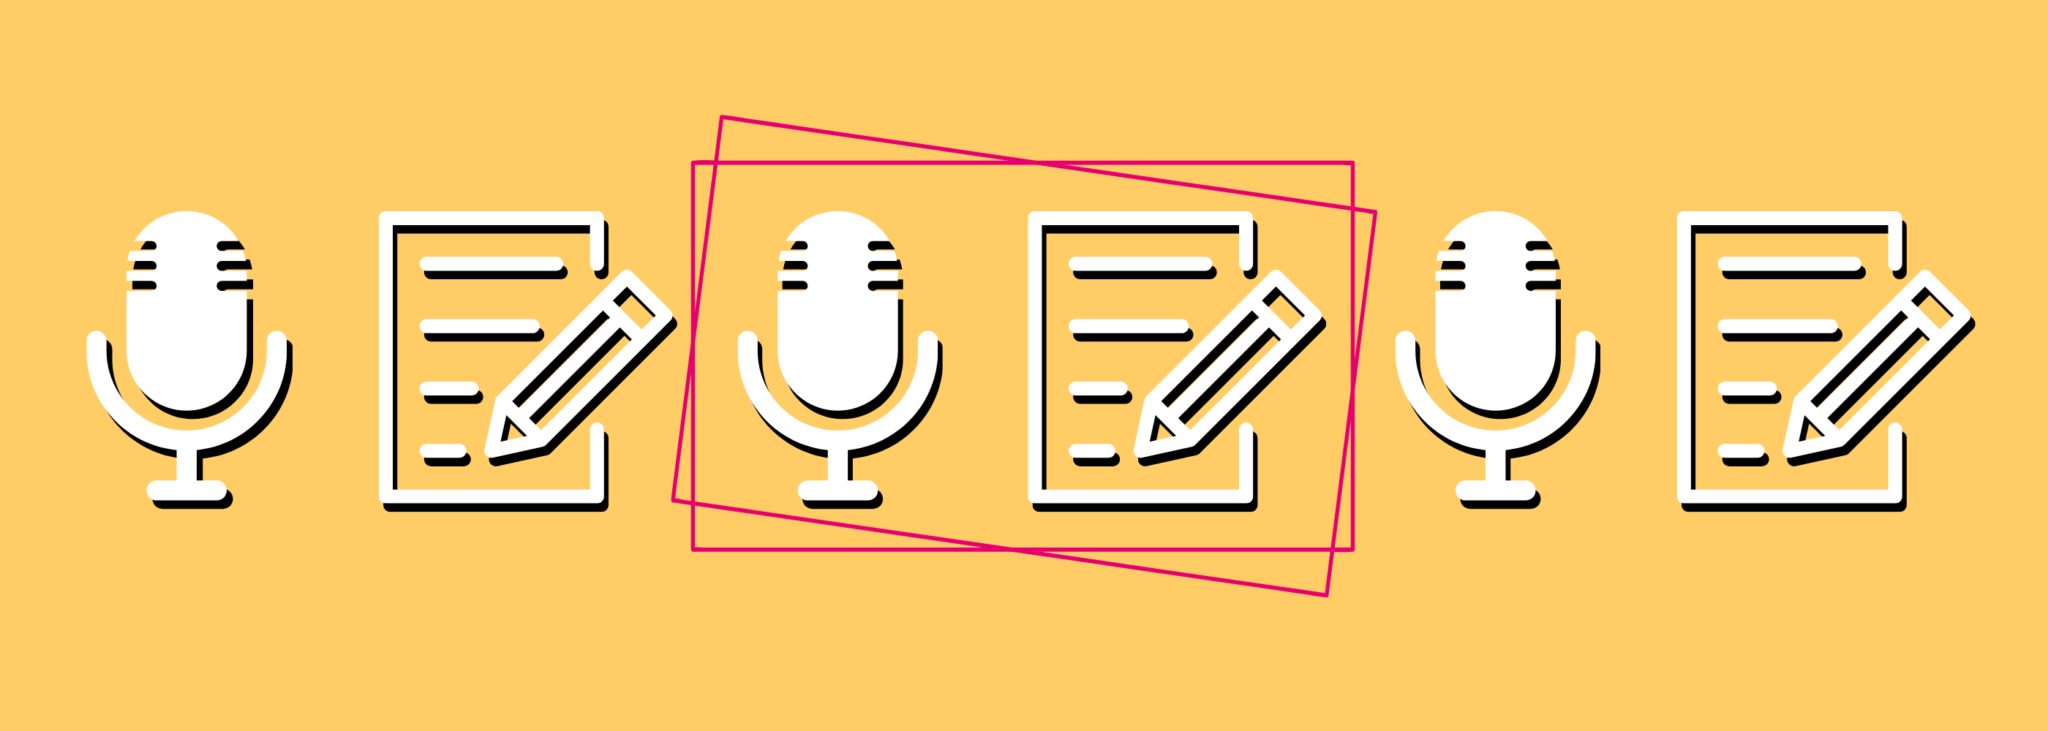
Transcribing Audio Content: Resources and How-To
•
Free Ebook: Discover the Benefits of Transcribing Online Video
If you want to transcribe audio content, then you’ve come to the right place. Whether you choose to use a third-party transcription service or DIY (do it yourself), it’s important to weigh the pros and cons and choose which option works best for you.
There are many benefits of transcribing audio to text:

Benefits of Transcribing Audio
- Create a better user experience
- Increase your chances of being quoted and credited
- Boost search engine optimization (SEO)
- Improve accessibility for users who are d/Deaf or hard of hearing
Additionally, many businesses and organizations are legally required to create transcripts for their content based on the Americans with Disabilities Act and Section 504 and 508 of the Rehabilitation Act. WCAG 2.0 is a set of guidelines put in place by the World Wide Web Consortium to make digital content more accessible for users, including those with disabilities. WCAG 2.0 has three levels of compliance: Level A, AA, and AAA. Section 508 was revised to comply with WCAG 2.0 Level A and AA. According to the lowest level, Level A, transcripts are recommended for audio-only content.
We’ll provide the different resources you’ll need to transcribe from an audio file and help you determine the most viable choice based on your budget, time, and particular needs. Good luck, and happy transcribing!
DIY Transcription
Manually transcribing audio can be a daunting task, especially when you have longer forms of content. It usually takes 5-6 times the actual time of the content. Luckily, there are many free and low-cost tools available to simplify the process. Before you begin transcribing, make sure you capture clear and loud audio. This will help to reduce red flags and inaudible sounds in your transcript.
YouTube
If you host your audio content on YouTube, you can utilize the free automatic video transcript tool. This tool automatically transcribes audio into text, but keep in mind that it comes with a lot of errors. Transcripts produced by YouTube’s tool are too inaccurate to be used on their own. Therefore, it’s highly recommended to clean them up since they can hurt your video accessibility and ranking on search engine results pages (SERP).
Here’s how to leverage YouTube’s automatic video transcript:
- From the video manager, select your video and click Edit > Subtitles and CC. Select Add Subtitles or CC and choose your language.
- Select Transcribe and Set Timings, and type the transcript in the space provided. YouTube will automatically pause the video as you type so you can transcribe more quickly and accurately.
- Once you are satisfied, select Set Timings. This will sync your transcript with the video.
Similarly, you can create a transcript beforehand and upload it to YouTube:
- First, create a transcript with YouTube’s recommendations for formatting.
- Go to the Video Manager in YouTube and click Edit > Subtitles and CC. Select Add Subtitles or CC and choose your language.
- Choose Upload a File, select Transcript, and choose your .txt file for upload.
- Once your transcript has uploaded, click Set Timings to sync your transcript with the video and create closed captions.
You can also download the transcript file later with timings as a caption file:
- Go to the video from which you would like to download the transcript. Click on the More Actions button (3 horizontal dots). Hint: it’s located next to the share button.
- Select the Transcript option.
- A transcript of the closed captions with the time codes will automatically generate.
Learn about the benefits of transcribing and captioning online video ➡️
ASR Software
Automatic Speech Recognition, otherwise known as ASR, is a technology that picks up human speech and converts it into text. You can upload your media to ASR software, and it will automatically transcribe audio into text. This method still comes with many errors, but it’s much easier and faster to clean up an inaccurate transcript than to start from scratch.
There are many options for transcription software that are free or available for a small cost, such as Express Scribe, EureScribe, and Dragon NaturallySpeaking.
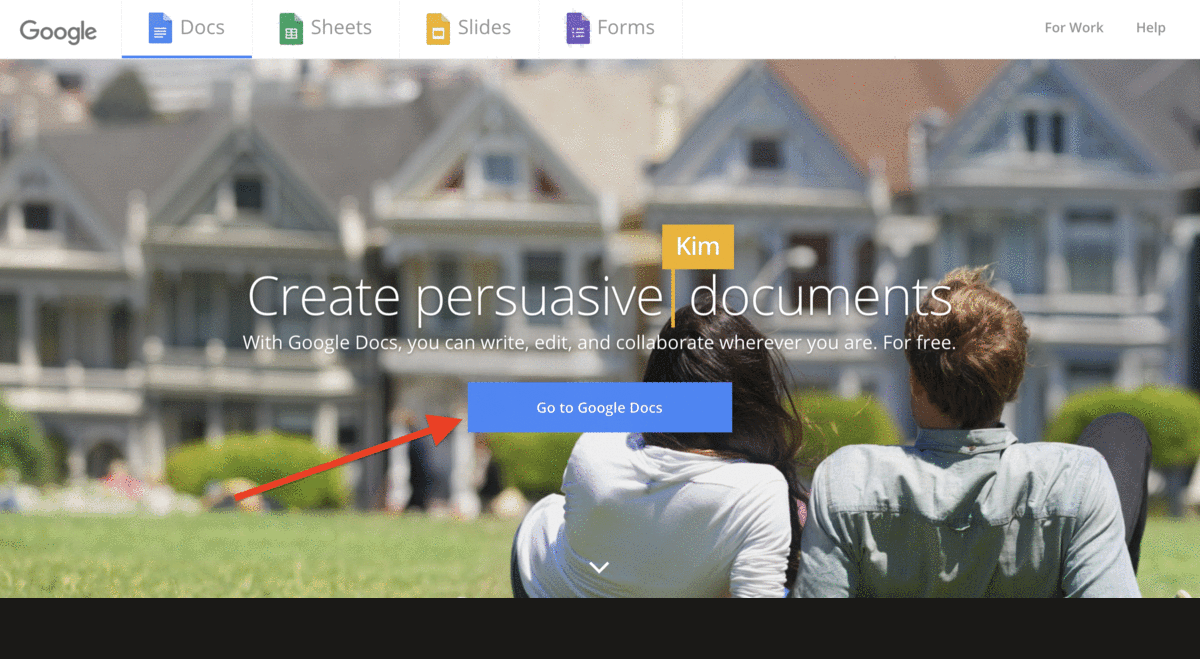
Google Docs
Google offers an awesome feature that allows you to turn Docs into free transcription software. If you don’t have a Gmail account, you can sign up for one free of charge. If you have an existing account, you already have access to a feature called Google Docs; Google Docs is a word processing tool that allows you to create text documents in your web browser. Using voice typing, Google voice transcription can create text transcripts from audio. Like many of the other manual transcription tools, there will be errors, so make sure to clean it up before using it.
Follow these steps to create your transcript:
- Using any browser of your choice, go to the Google Docs website and Start a New Document.
- Click on Tools and select Voice Typing. It will enable voice recognition.
- Click the Microphone icon on the left to activate Voice Typing. Google will transcribe anything being said to the word document.
iOS/Android
Another way to transcribe audio content is by using your smartphone. Similar to Google Docs, the microphone will pick up on audio and transcribe it into text. Transcribing on your smartphone tends to work a little better than Google Docs since the microphone on your phone picks up less background noise; however, it still doesn’t compare to a high-quality microphone. Recording on your smartphone won’t ensure a high accuracy rate, so you will have to clean up the final transcript.
Here are step-by-step instructions for how to transcribe audio into text with your smartphone:
- Open up a word-processing app on your smartphone.
- On the keyboard of your smartphone, select the Microphone button, and it will start recording.
- Hold your phone near your computer or other device and Playback the Video. Your phone will automatically turn the audio into text.
Pros
- More budget-friendly
- Good for shorter content
Cons
- Time-consuming to create
- Labor-intensive
- Low accuracy level
Transcription Services
Another option to transcribe audio content to text is to use a third-party transcription service. If you’re looking for high-quality, accurate transcripts, this is definitely the way to go!
3Play Media offers a 3-step transcription process that uses both technology and human transcriptionists, ensuring a 99.6% accuracy rate. When the audio file consists of difficult content, has background noise, or contains accents, the accuracy rate decreases. ASR typically provides 60-70% accuracy, so the use of human transcriptionists distinguishes 3Play from other transcription options.
Our patented technology uses ASR to automatically produce a rough transcript, which is useful for creating accurate timings even if the words and grammar are incorrect. Using proprietary software, our transcriptionists go through and edit the transcript. All of our transcriptionists undergo a rigorous certification process and have a strong grasp of English grammar, which is important for understanding all the nuances of your content. After the editing process, your file goes through a final review called quality assurance. Your file is reviewed by our top editors, who ensure your transcript is virtually flawless.
One feature we also offer is the 3Play Interactive Transcript. This feature allows users to interact with your video by searching the video, navigating by clicking any word, and reading along with the audio. Interactive transcripts make your content more accessible and improve the user experience.
Pros
- High accuracy level
- More reliable
- Handles large quantities of content
- Access to unique tools
- Access to skilled staff
Cons
- More expensive
Boost your online video with transcripts and captions ➡️
Transcription Best Practices
Now that you have a better understanding of manual transcription versus a transcription service, you can make an informed decision. No matter which option you choose, it’s important to know how to make the most out of your transcripts.
- Grammar and Punctuation: Ensure there are no errors in your transcript so that it is easy to read.
- Speaker Identification: Use speaker labels to identify who is speaking, especially when there are multiple speakers.
- Non-Speech Sounds: Communicate non-speech sounds in transcripts. These are typically denoted with [square brackets].
- Verbatim: Transcribe content as close to verbatim as possible. Leave out filler words such as “um” or “like” unless they’re intentionally included in the audio.
Want to learn more?
This post was originally published by Samantha Sauld on August 30, 2018, and has since been updated.
Filed under
About the author
Share this page
Related Posts
-
 Read more: What Is Pulse by 3Play Media? A Complete Breakdown
- Pulse
What Is Pulse by 3Play Media? A Complete Breakdown
-
 Read more: Which Languages Are Required for EAA Compliance?
- Localization
Which Languages Are Required for EAA Compliance?
-
 Read more: Accessibility Laws for Public Colleges
- Legislation & Compliance
Accessibility Laws for Public Colleges